Yurt Decking & Base — Stable, Dry & Long‑Lasting
A well‑designed base keeps your yurt level, dry and secure. Whether you need a removable event pad, a semi‑permanent raised platform or a permanent timber deck, this guide explains the options, sizing, drainage, anchoring and a simple installation checklist.
Quick summary
- Best for long‑term use: timber deck on joists(comfortable, attractive).
- Best for wet/sloping sites: raised platform on ground screws or piers (minimal groundworks).
- Best for permanence: concrete slab (very stable, low maintenance).
- Best for short‑term use: compacted hardcore, pavers or sleepers (cheap and removable).
- Always fit your yurt’s waterproof groundsheet and plan anchors for wind safety.
Why a good base matters
A correct base protects the felt and frame from damp, makes stove and service installation easier, improves access and extends the life of your yurt.
Base types — pros & cons
Timber deck (most popular)
Pros: Comfortable underfoot, easy to attach anchors, attractive finish and simple to insulate.
Cons: Higher upfront cost; periodic treatment required for a non-circular decking.
Raised platform (ground screws / piers)
Pros: Minimal excavation, excellent drainage and suits sloping sites.
Cons: Needs correct joist design and good installation.
Concrete slab
Pros: Very stable and low maintenance.
Cons: Permanent, heavier visual impact – may need planning permission; needs drainage and frost protection; need additional insulation for the area where yurt stands to prevent heat lose.
Compacted hardcore / pavers
Pros: Low cost, quick to install and removable.
Cons: Less comfortable; can settle or shift over time; may need planning permission; need additional ground insulation to prevent heat lose.
Size & layout guidance
As a rule of thumb allow a deck diameter = yurt diameter. If you want an entrance, add a 0.8–1.2 m entry depth. Example: for a 6 m yurt allow a clear deck diameter of 6.8–7.2 m
Drainage & moisture control
- Slope the deck or surrounding ground away from the yurt (1–2°).
- Install a crushed stone sub‑base (50–150 mm) and geotextile beneath timber or concrete bases – if you are planning to have a decking in place, you won’t need this step.
- Use treated timber or naturally durable species and a DPM.
- Always place the yurt’s waterproof groundsheet between the floor and canvas to protect felt and internal timber.
Insulation & flooring
Add insulation under the floor for winter use: rigid PIR/XPS boards, mineral wool between joists, or natural wool boards. Finish with tongue‑and‑groove decking, hardwood boards or sealed plywood. This step is an option, if you having a decking for the yurt.
Anchoring & wind safety
Anchor yurts to the deck using stainless steel anchor plates or heavy‑duty straps fixed to joists or concrete footings. On raised platforms fix anchors through joists into ground screws/piers. Increase anchor density in exposed locations and inspect annually and after storms.
Stove, flue & services
Decide the stove position before finishing decking. Provide a non‑combustible hearth, fit correct clearances and watertight flue collars/flashings where the flue passes through decking or roof. Run electrical and water services beneath decking in protective conduit.
Accessibility, steps & ramps
For public or commercial installations build ramps and steps to local accessibility standards. Use non‑slip finishes and secure handrails where required.
Planning & permissions (UK)
Temporary / seasonal bases commonly don’t need planning permission; concrete, compacted hardcore, or pavers may. Check with your local planning authority and follow building regulations for mains connections.
Maintenance tips
- Inspect joists, fixings and decking annually; re‑oil or treat exposed timber.
- Clear drainage paths and remove leaves and debris regularly.
- Check and retension anchors and straps after storms.
Base comparison
| Base Type | Pros | Cons | Best For |
|---|---|---|---|
| Timber deck | Comfortable, attractive, easy to finish & insulate | Higher cost; periodic treatment | Long‑term living, glamping |
| Raised platform (ground screws/piers) | Minimal ground impact; good drainage | Requires careful design & installation | Sloping or wet sites |
| Concrete slab | Very stable; low maintenance | Permanent; requires groundwork | Permanent/commercial installs |
| Compacted hardcore / pavers | Quick, low cost, removable | Less comfortable; may settle | Seasonal or event use |
Installation checklist
- ☐ Confirm yurt diameter, door orientation and desired porch depth
- ☐ Mark centre and footprint; check level and drainage
- ☐ Excavate and prepare sub‑base; add geotextile and compacted hardcore if needed.
- ☐ Install ground screws or timber/concrete footings as required
- ☐ Build joists to recommended spans; fit DPM and insulation if required
- ☐ Lay finished deck boards and treat / oil exposed timber
- ☐ Fix anchor plates / strap points; test anchors before erecting the yurt
- ☐ Fit stove platform and plan flue route before installing canvas
- ☐ Run services (electric, water) in conduits beneath deck
- ☐ Final level check and drainage test; secure roof and straps after erecting yurt
Need help? If you’d like a deck plan with joist spans and timber sizes for a specific yurt diameter (e.g. 4.2 m or 6 m) and site slope (flat or sloping), tell us the size and site type and we’ll provide a detailed plan.
Last updated:
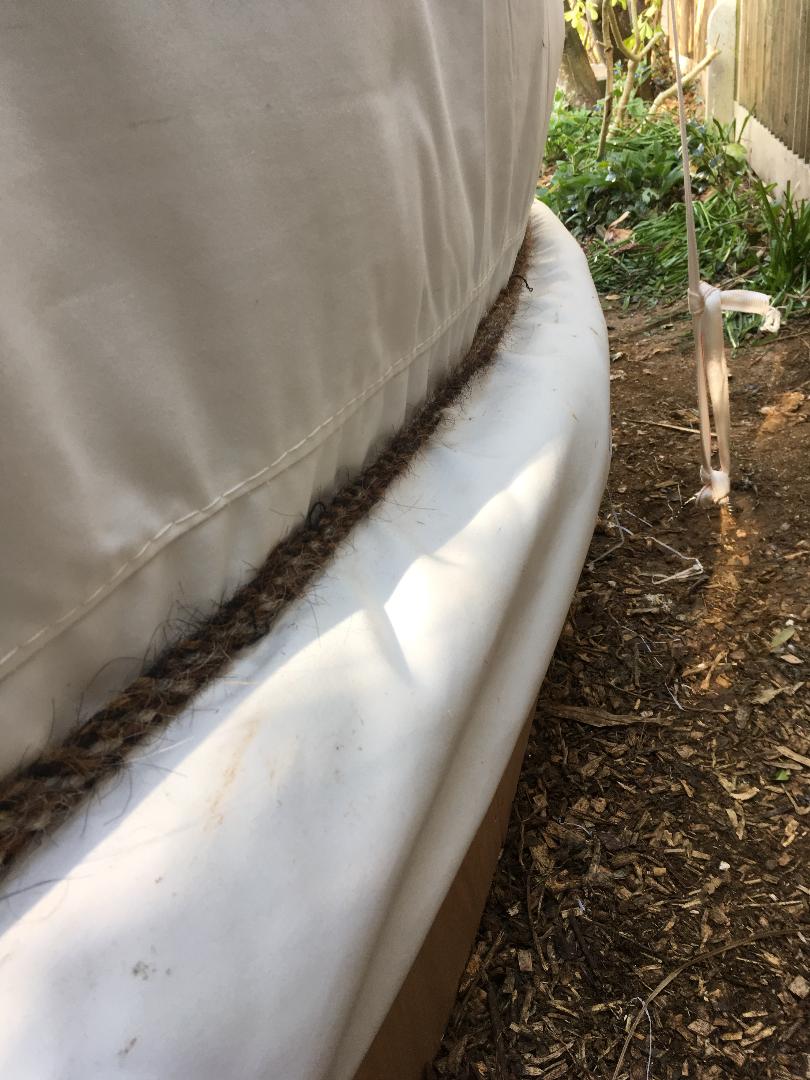
An Example of a Circular Decking for a Maintenance Free
Please contact us for a detailed guidance on how to build one by yourselves for free.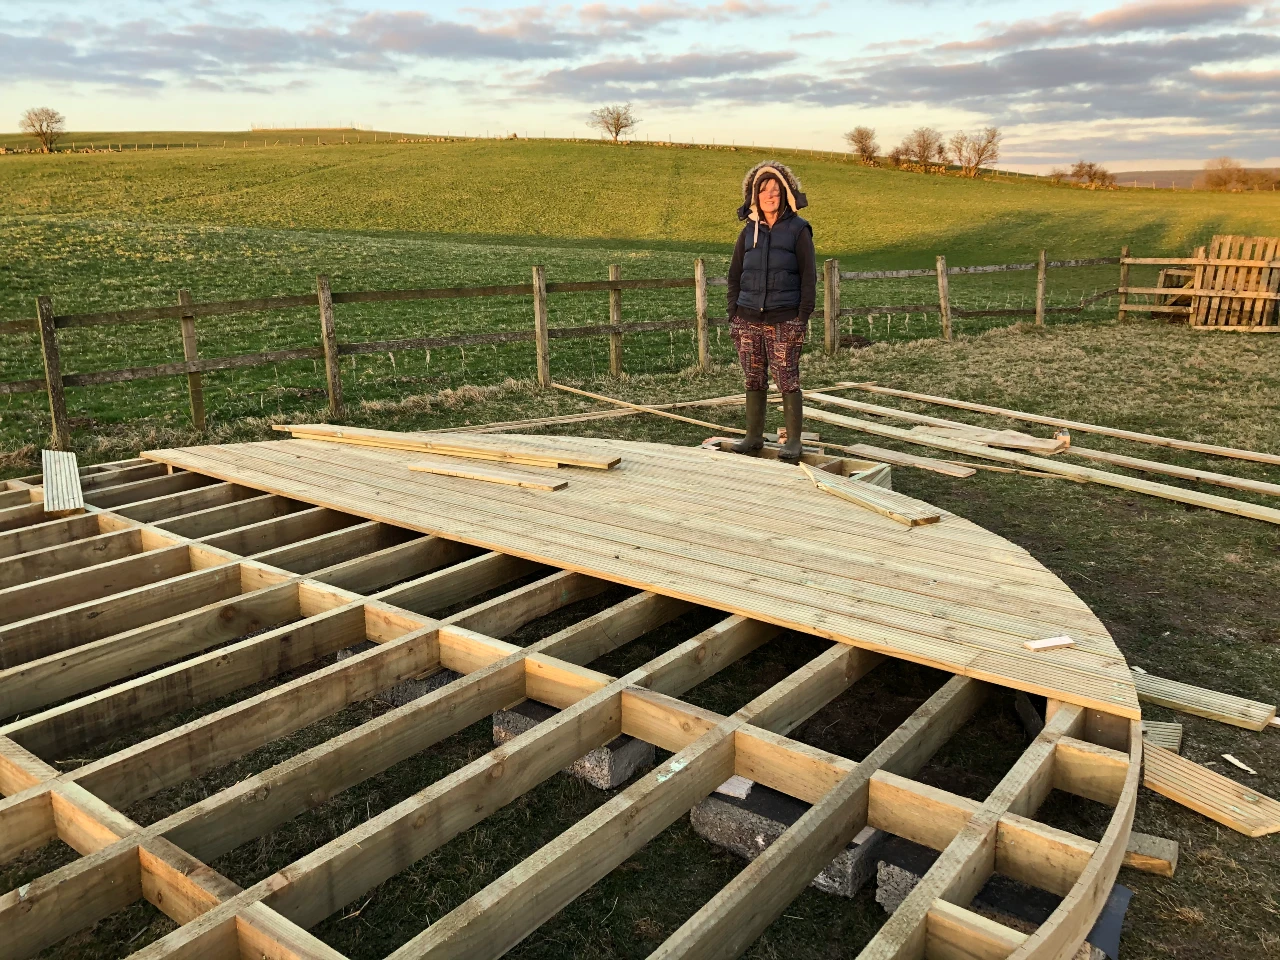
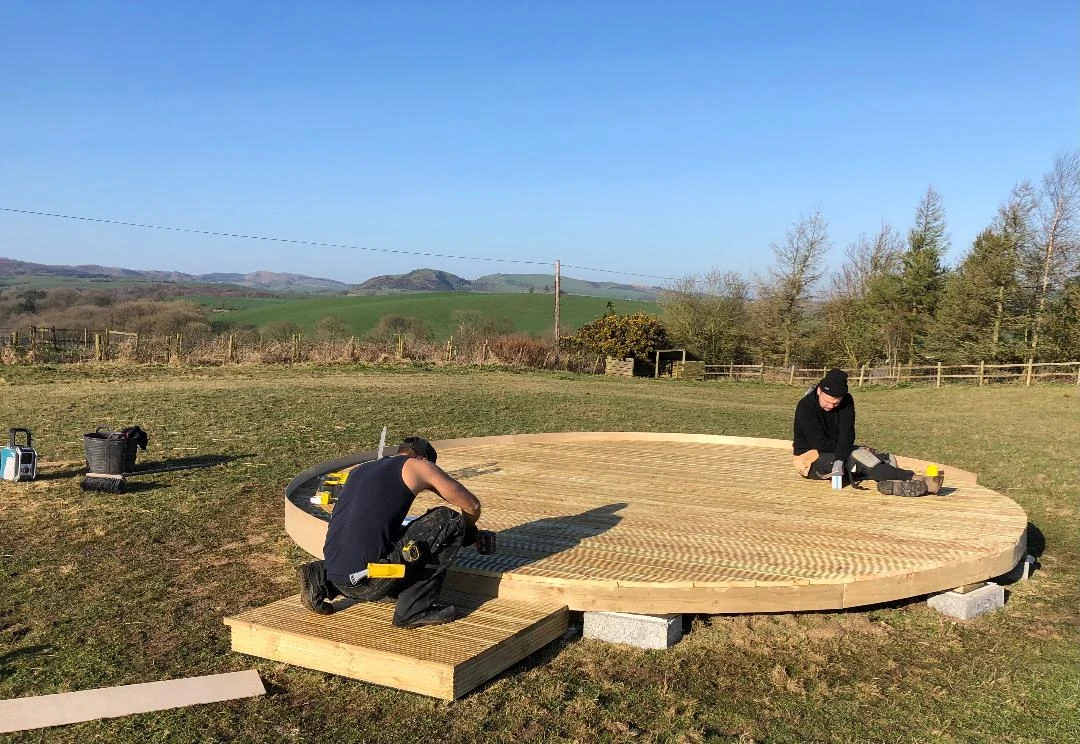

An Example of a Portable Decking

