How to Assemble a 6m Yurt: Step-by-Step DIY Guide

There’s something magical about watching a yurt take shape. From the moment the lattice wall unfolds to when the crown is lifted into place, you’re not just building a structure—you’re creating a space for warmth, connection, and adventure.
In this guide, we’ll walk you through how to assemble a 6-metre diameter yurt, with practical tips, tools you’ll need, and advice to make the process smooth (and enjoyable!).
🧰 Tools & Helpers You’ll Need
Before you start, gather your tools and a few extra hands. At least four people are recommended for the first build—it makes the job easier and prevents accidents.
- 📏 Measuring tape (long enough for 6m)
- 🪜 2 tall stepladders
- 🔨 Hammer, screwdriver, handsaw
- 🔧 Adjustable spanner
- 🪚 Drill (2–3mm wood bit)
- 🧴 300ml boiled linseed oil (for roof poles)
- 🗜️ G-clamps (super handy for fabric layers!)
- 🏗️ Acro prop (optional, helps hold crown wheel in place)
👉 Tip: Many hands make light work. With a good team, the build takes 3–7 hours depending on experience.
Step 1: Prepare the Base

If you don’t already have a yurt decking base, we recommend one. A circular raised platform prevents rainwater from creeping in, keeps things drier, and makes your yurt last longer.
👉 Check our decking guide here
Step 2: Choose the Right Day & Spot
- 🌞 Pick a dry day – you’ll want to finish in one go.
- 🌬️ Avoid windy areas – position the door away from the prevailing wind.
- 🌳 Don’t pitch under trees – falling leaves and bird droppings mean extra cleaning.
- 🌍 Flat, well-drained ground is essential.
Step 3: Build the Frame
- Install the door – Secure it firmly to the base.
- Khana walls – Expand the lattice wall and tie to the door frame (don’t overlap).
- Perimeter straps – Wrap the belly straps (and steel wire strap) around to hold the structure tight.
👉 Pro Tip: Measure your interior diameter – it should be about 5.85–5.90m. Adjust before moving on.
Step 4: Raise the Roof

This is the exciting part!
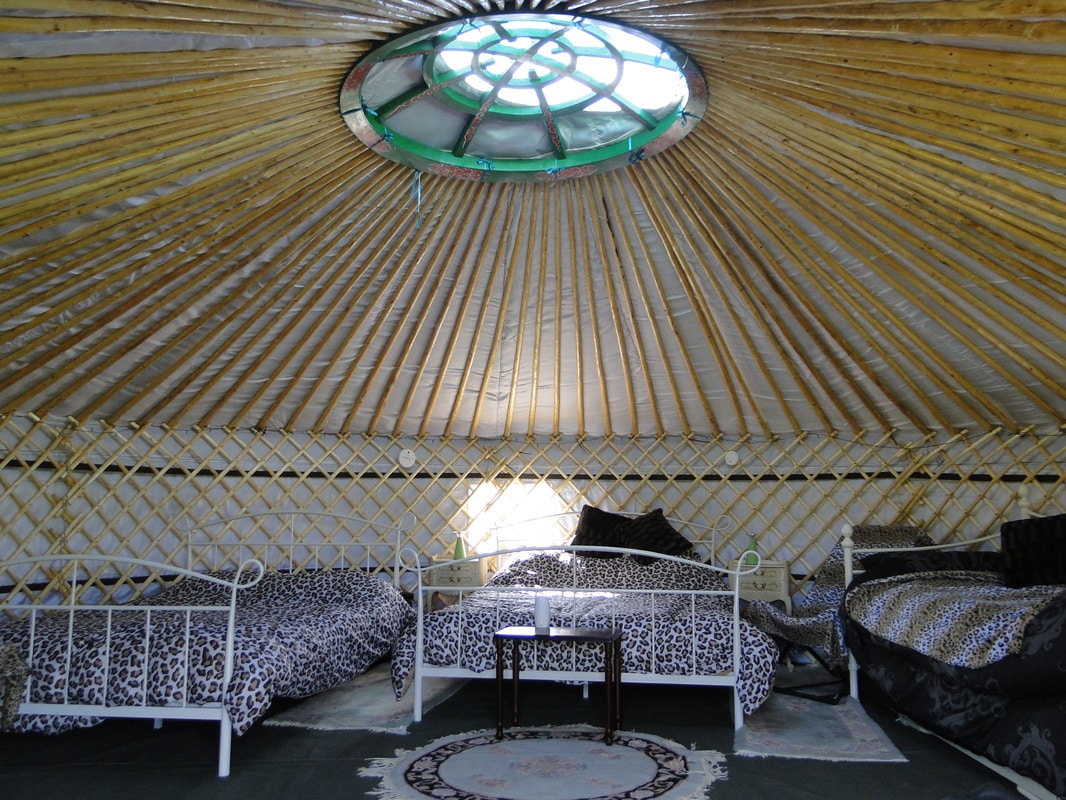
- Lift the crown wheel into position (with ladders or acro prop).
- Insert roof poles evenly, hooking them into the khana wall.
- Adjust so everything sits neat and balanced.
👉 For the area above the door, use poles with longer ties so they hook securely onto the door frame.
Step 5: Dress the Yurt
🧵 Wall Felt & Lining
Wrap the three-layer fabric around the walls. Use G-clamps to hold while you adjust. Buckle and tie neatly at the rear.
🪢 Horsehair Straps
Thread straps through eyelets in the fabric. Tie securely to the door frame and around the yurt.
🐑 Roof Felt Lining
Hoist the heavy lining up with ropes (3–4 people needed). Tie it to the crown and unroll across the poles. Make sure the white lining faces inside.
🎪 Outer Canvas
Lift the roof canvas into position, aligning the door opening. Use ropes to lace the roof and wall canvas together.
☂️ Roof Cap
Pull the roof cap into place using straps. Secure to ground eyehooks (to prevent wind lifting it). Adjust towards the wind on stormy days.
Step 6: Final Touches
- 🪵 Painted door planks – screw into place to block draughts and rain.
- 🔗 Groundsheet fastening – tie securely so rainwater doesn’t seep in.
- 🪟 Windows – attach PVC covers with Velcro to keep warmth in.
- 🌪️ Storm straps – add if your site is exposed to strong winds.
❌ Common Mistakes to Avoid
- Don’t let the door sit on the groundsheet (it should sit outside).
- Ensure the roof insulation overlaps the wall insulation.
- Double-check that the roof cap is centralised.
Helpful Resources
Final Thoughts
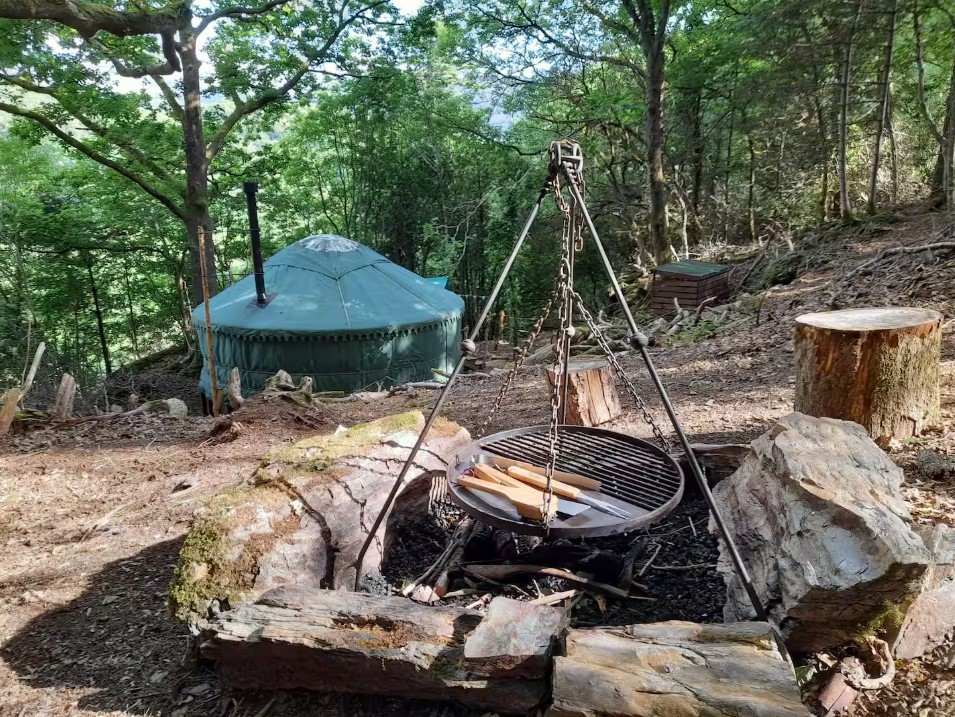
Building a yurt is a team effort and a rewarding experience. Once your 6m yurt is up, it’s not just a shelter—it’s a unique space for gatherings, retreats, or simply enjoying nature.
With preparation, the right tools, and teamwork, you’ll have your yurt ready in just a few hours. Then it’s time to sit back, light the wood burner, and enjoy the magic of yurt life.